Background Info
Smoke detectors are one of the most important safety devices in your home. Required by the residential building code in almost any structure, research shows that smoke detectors save many human lives every year. Smoke detectors alert occupants to fires before they rage out of control. House fires are so dangerous because they can begin so quietly that nobody at home notices until it’s too late. Even the smoke is dangerous and maybe just as dangerous, causing harm even before flames are visible. Smoke detectors are amazing tools for fire safety as they stay active and awake all day and all night and will sense even the slightest evidence of smoke and fire.

With that said, all smoke detectors require electricity to work. Studies show that 25% of all failed smoke detectors were caused by dead batteries. Smoke detectors come in two styles: battery-only smoke detectors that are powered by replaceable batteries and hardwired smoke detectors.
What Is a Hardwired Smoke Detector?
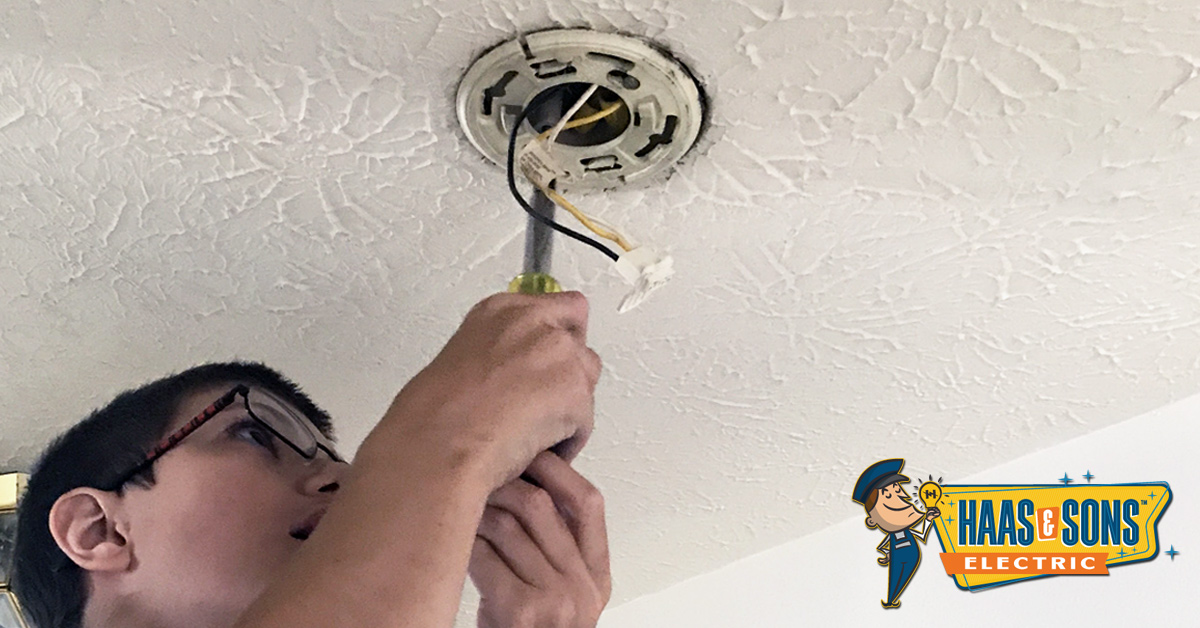
Hardwired smoke detectors include an electrical cable that runs inside your ceiling or wall directly into the back of the smoke detector. Hardwired smoke detectors come with a battery backup so if you lose power during a storm, you’re still covered.
DIY Electrical Work Disclaimer
Those taking on DIY projects having to do with home electrical work should have a clear understanding of electrical circuits before attempting to do anything dealing with circuit breakers and hardwired installations. If you don’t possess this experience or understanding, we highly recommend contacting a trusted, local, professional electrician to get the job done for you. Haas & Sons offers hardwired smoke detector installation near you. We’re nearby and ready to help you when you need it! Call us at 443-396-2555.
Although the electrical code doesn’t require that hardwired smoke detectors be connected to their own dedicated circuit, it doesn’t hurt to install a new circuit to power these detectors. Hardwired detectors are usually installed by splicing into a general lighting circuit or outlet circuit. Either a 15-amp circuit (wired with a 14-gauge wire) or a 20-amp circuit (wired with a 12-gauge cable) is acceptable when powering smoke detectors.
As long as all safety precautions and instructions are followed, wiring smoke detectors is a fairly straightforward project for an experienced DIYer or a professional electrician. You’ll want to A) make sure old-work electrical ceiling boxes are installed at the appropriate spots where smoke detectors are to be installed. Then B) a 2-wire cable should be run from the power source to the first smoke detector. Lastly, C) 3-wire cables need to be installed to link the smoke detectors in sequence. Then, wire connections should be made and the devices installed.
All standard precautions should be followed when working with electrical circuits. Make sure all power is shut off and tested for voltage before making any feed wire connections.
Materials and Equipment You’ll Need
Equipment
- Six-foot step ladder
- Tape measure
- Pencil
- Stud finder
- Drywall saw
- Cordless drill
- Fish tape
- Cable ripper
- Wire stripper
- Voltage tester
Materials
- Hardwired smoke detectors
- Old-work electrical boxes
- UL-approved wire connectors
- 2-wire NM cable
- 3-wire NM cable
How to Install Smoke Detectors
1. Mark your spots for the Smoke Detector Boxes
Find the best spots for your smoke detectors. Ceilings usually work best since their function is to detect smoke, which rises. If you decide to install a smoke detector on a wall, install it within 12 inches of the ceiling. You may also check your manufacturer’s instructions and your local building code for recommendations on where the alarms should be installed.
Use a stud finder to locate the ceiling joists or wall studs. Hold the electrical box backward and use the perimeter of its face as a guide on how to draw the perimeter cutout. When using old-work boxes, locate the boxes between joists or studs not over them.
2. Make your Cutouts
Using a drywall saw cut openings in the drywall to hold the electrical boxes in place for the smoke detectors. It may be necessary to drill a pilot hole to establish a starting point for the saw.
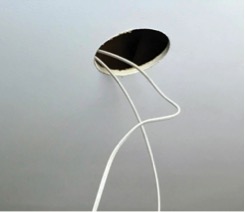
3. Run NM Cable to the First Box
Run a 2-wire cable (with ground) from the power source to the first box location. The power source can be in any of these areas:
- An existing wall outlet
- A wall switch
- A ceiling light fixture with a pass-through circuit cable that isn’t controlled by a switch,
- A circuit breaker panel
Here’s the hard part. Next, you’re going to need to fish cable through the walls. It may take some creativity to figure out the optimum route. Some professional electricians prefer to run the cables up into the attic, along ceiling joists, then down into the smoke detector boxes. Although it might require more cable, it can make the process a lot easier. As you route the cables, leave a good amount of excess cable extending through the hole in the drywall. You will cut it down to the proper length during the installation of the boxes.
4. Run the Cables to Other Boxes
From the first smoke detector box, run a 3-wire cable (with ground) to each subsequent smoke detector. The extra wire in these cables allows the smoke detectors to communicate with each other so that all the detectors will sound when any one of them detects smoke or fire.
5. Insert the Cables into the Electrical Boxes
Cut off any excess cable so that you have about 8 inches of wire that extend into each electrical box. Next, strip away the outer sheathing from the cables using a cable ripper, and insert them into the electrical boxes with ¼ to ½ inches of cable insulation extends past the clamps and into the box.
The way the cables are clamped into the boxes will depend on the type of box you’re using. Some metal boxes may require you to install a cable clamp in the knockout openings on the box, while others might have internal clamps that will hold the cables.
6. Mount the Boxes
Now that the cables are clamped in each box, install each old-work box into the drywall openings. Tighten the screws in the box, which will tighten the rest of the tabs firmly against the back of the drywall, securing it in place.
7. Install Mounting Plates
Wherever you have your smoke detectors, feed the circuit wires through the detector’s mounting plate, then line up the screw holes on the mounting plate with the holes in the electrical box, and use the screws to secure the plate to the box.
8. Connect the Smoke Detectors
Use wire nuts or the other UL-approved wire connectors to connect the wire leads on the smoke detector on the first box:
- Join the black circuit wire(s) to the black wire lead on the smoke detector.
- Connect the white wire(s) with the white wire lead on the smoke detector.
- Connect all the bare copper wires together. When using a metal box, make sure to attach a bare copper or green insulated pigtail wire to the box.
- Finally, connect the red circuit wire(s) to the interconnector traveler wire from the smoke detector. This is usually marked as yellow.
Gently tuck the wires through the mounting plate, then follow the manufacturer’s directions to secure the smoke detector to the mounting plate. Most detectors will require you to slide notches on the detector into slots at the base, then twist.
Since connections for smoke detectors will vary from model to model, make sure to follow the manufacturer’s directions.
9. Install the Backup Smoke Detector Battery
Insert the battery into the smoke detector. Make sure to align the positive and negative terminals in the correct configuration. Cover again.
10. Connect to the Power Source
This is the part where depending on your experience and skill level, you may want to hire a professional electrician to help. Possibly the hardest part of this installation is connecting the cable that brings power from the first smoke detector to its power source.
If you decide to feed the smoke detectors from an existing outlet or light fixture, this connection is made by turning off the circuit and testing the power, then opening an outlet, light switch, or ceiling fixture box and pigtailing into the circuit wires to join the smoke detector to the circuit. It’s important to keep in mind that you need to splice into circuit wires that are not controlled by a wall switch.
If you’re splicing in at the light fixture box it has to be a box where there are pass-through wires that aren’t controlled by a wall switch. If you’re splicing in at a wall switch, you need to connect the black feed wire that feeds the switch, not the outgoing wire that brings power to the light fixture.
If you’re installing a new circuit, the feed connections would involve installing a new AFCI-protected circuit breaker to feed the smoke detectors.
11. Test the Smoke Detectors
The time has come to test the smoke detectors. To do so, turn on the power to the circuit, then test the smoke detectors by pushing the test button on each detector, one by one. You’ll know that they’re operating correctly if the alarms sound when each test button is pressed.
Don’t be Afraid to Call a Professional
Although hardwiring smoke detectors is doable by non-professionals, it is an advanced electrical project that directly impacts your safety. The same goes for other home electrical upgrades, like installing a bathroom exhaust fan, where proper wiring and ventilation are essential.If you feel uncomfortable in your ability to safely and effectively install these devices, please call us, we’re happy to help!
Make sure to follow our Facebook page for news on what's going on here at Haas & Sons Electric!